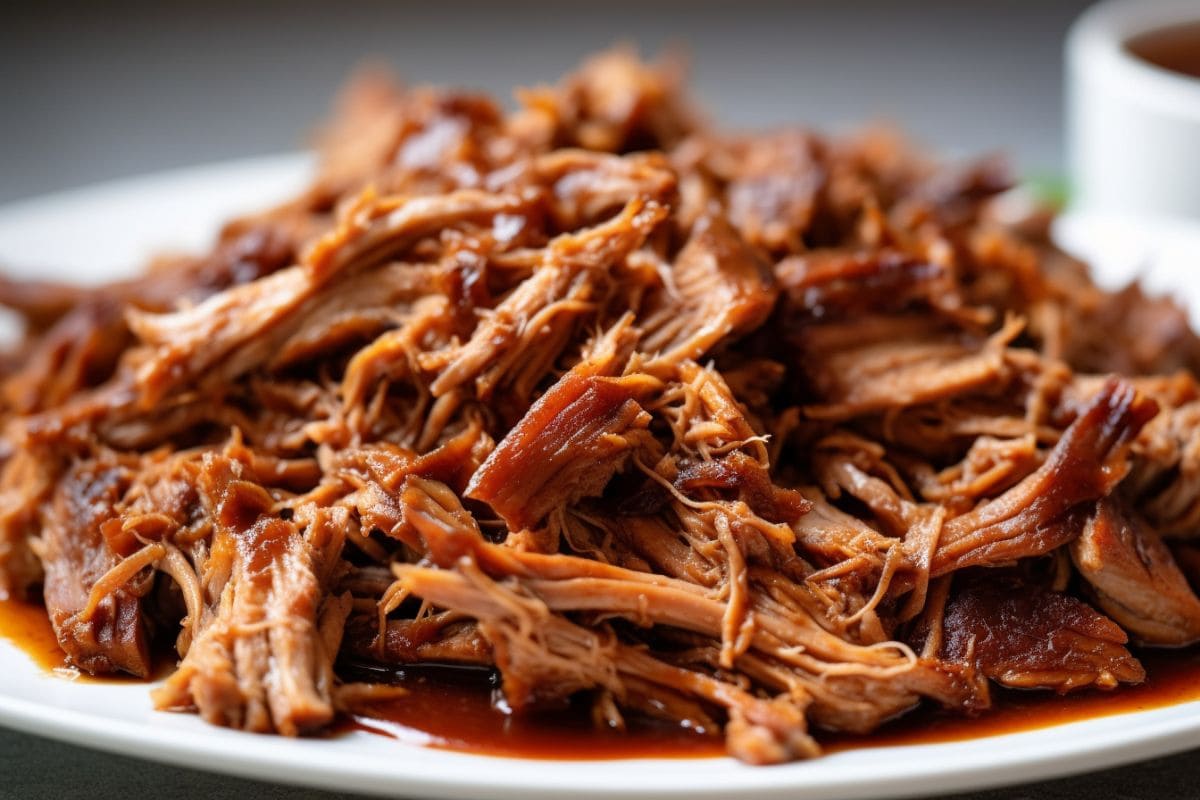
I aim for an internal temperature between 195°F and 204°F for pulled pork – a thermometer probe or toothpick should slide in and out easily. Usually, I find that 203°F is the sweet spot for me.
I have been smoking pulled pork for over a decade, both at home on my Big Green Egg and as a chef. It’s one of the easiest things to cook on the smoker if you nail the internal temperature. It is the key to getting your dish just right.
So I will give you an in-depth explanation of the pulled pork temperature and show you how to cook mouth-watering, fall-apart pulled pork each and every time. Let’s get started!

I find 195°F to be the low end of doneness for this dish – at this point, it’s close. Every piece of meat cooks differently, and your pork may be done at 195°F.
However, I usually wait until my pork reads 203°F internal. Cooking a few degrees past 195°F will usually result in pulled pork that’s more tender and juicy.
So, you may be wondering:
200° F is another temp for pulled pork that gets thrown around a lot in the bbq world. Part of the differences in opinion out there are due to a phenomenon known as carryover cooking. When you take a large piece of meat off the grill, it will continue cooking, up to 5°F.
Therefore, once you remove the pork from the heat source at the 195°F mark, the meat will cook, reaching around 200°F. Cook it to 200°F, and it’ll hit 205°F. Cooking the large cut of meat past 205°F takes it to 210°F, and you risk drying it out.
Here’s another question you may have:
You will find some people recommending taking the smoked pork off the grill at 185°F. I personally find that the internal temperature at this point will give you chewy, tough pulled pork – keep cooking a few more degrees, and you’ll have sublimely tender and delicious pulled pork.
If you are worried about overcooking your smoked pork, don’t be. This cut of meat shines when it’s cooked to a high temperature when all the connective tissues dissolve into juicy goodness. I’d wait until the internal temperature reads 203°F or the probe inserts easily.

To understand the importance of the temperature of the meat, you have to first understand what happens when you cook pork butt. Here is the lowdown:
At around 105°F – 122°F, the proteins in the meat begin to denature, and at about 120°F, it will turn opaque in the center. The meat is quite juicy and firm at this point.
At 140°F, the meat exterior turns from pink to brown-grey color and releases a lot of juice. It will shrink in size and take on a chewy texture as the collagen, a connective tissue, begins to denature. The meat is both firm and moist.
When the pork reaches 160°F, the collagen begins to dissolve to gelatin – this process accelerates and continues up to the 180°F mark. Past this heating mark, the muscle fibers begin to tear apart, making it easy to pull the pulled pork apart.
By the time your pork butt hits 203°F, the exterior will be a dark mahogany color. It may look like a meteorite. Don’t fear! That’s exactly what you want your bark to look like.
This is the beauty of smoking meat – it is cooked low and slow, at around 225°F. When the pork butt is cooked at low cooking temperatures, the proteins are denatured slowly. This allows the pork butt to cook slowly and evenly and gives heat and smoke time to work their magic.
Related Reading
Prior to enrolling in culinary school, I would time the cooking process instead of relying on the internal temp. The issue here, though, is that the risk of error is too high. Cooking time can be impacted by the size of the pork butt, the type of smoker you use, the quality of your cooking fire, and the weather outside. Different chunks of meat cook differently, too.
Learn from my mistakes and use a food thermometer to check the internal temperature. Once you give a thermometer a try, I can guarantee that you will never go back!
Pork butt, also known as Boston butt is the ideal cut of meat to make pulled pork. Pork shoulder, which is another popular option for pulled pork is sometimes used interchangeably with pork butt. But the two cuts aren’t exactly the same.
The pork butt consists of portions of the neck, shoulder blade, and upper arm. It’s a tough cut of meat (don’t worry, the low and slow cooking process will transform it into an amazingly tender bite), and it is made up of quite a bit of connective tissue.
The pork shoulder – sometimes referred to as the picnic shoulder – is from a similar part of the pig. However, the pork shoulder is thinner and has less marbling and fat. Excellent pulled pork can be made from smoked pork shoulder as well. However, I generally find that the texture and taste aren’t on par with pork butts.
The extra collagen in the pork butt is what makes gives that full, delicious flavor and that fall-apart texture. It is BBQ perfection.
Now that you understand the basics of the internal temperature, here is a comprehensive guide to making pulled pork:

Trim the excess fat but don’t go overboard. The fat adds to the moisture of the pulled pork, so make sure to leave some on there. You can remove any fat that remains after cooking during the shredding process.
Fire up your gas grill, pellet grill, or charcoal grill. The gas grill can be set to low, while the charcoal grill can be set up for indirect cooking at 225°F, and the pellet grill can be set to 225°F.
When it has heated up, scatter wood chips or chunks over the charcoal. The wood chips will add a smoke flavor. Use a foil pouch filled with chips if you’re using a propane grill. If you’re using a pellet grill, your wood pellets are your fuel, and you don’t need any wood chips or chunks.
Liberally apply the rub to both sides of the meat. Use 2 1/2 teaspoons of your favorite rub per five pounds. The pork butt should be well-coated. Let the meat sit while your grill heats up. If you want the seasonings to work their way into the pork butt longer, stick it in back the refrigerator.
Place the pork butt on the grill with the fat side facing up. If you’re using a leave-in meat thermometer, insert it in the pork shoulder. Make sure it isn’t touching the bone, as this can result in inaccurate temperature readings.
Close the lid. Cook the meat for about 2 hours per pound of meat. Check the temperature with an instant-read thermometer, if using, every couple of hours.
When the meat hits the 160°F mark (in about 4 hours, depending on conditions and the size of your pork shoulder), it will reach a stall. At this time, the temperature can cease to rise for hours. To speed things up, follow the next stage:
Tightly wrap the pork butt in aluminum foil and then place it back on the grill. Add liquid to the foil, if desired – this will add moisture and gently braise your pork. Wrapping the meat will avoid the stall. Continue temping the pork until it reaches the desired temperature, about 203°F.
Remove the pork from the grill once it hits 203°F and let the pork rest for 20 minutes to a few hours for that rich flavor and tender, juicy texture. If resting for longer than 20 minutes, wrap the butt in foil and old towels and place it in a cooler. Once ready serve, pull the pork. (Keep reading for pulling instructions.)
Related Reading
The only downside to using foil here is that you may not get the crispy bark that you want. If you want that bark, you can wait out the stall. However, you will end up adding hours to your cooking time, so be prepared for this setback. Me? Unless crunched for time, I prefer not to wrap.

There are a couple of pulling techniques I use to shred my pork into small, delicious shards of smoky goodness. The meat will still be hot to the touch, so wear some type of heat-resistant gloves to protect your hands.
There are two techniques that you can use:
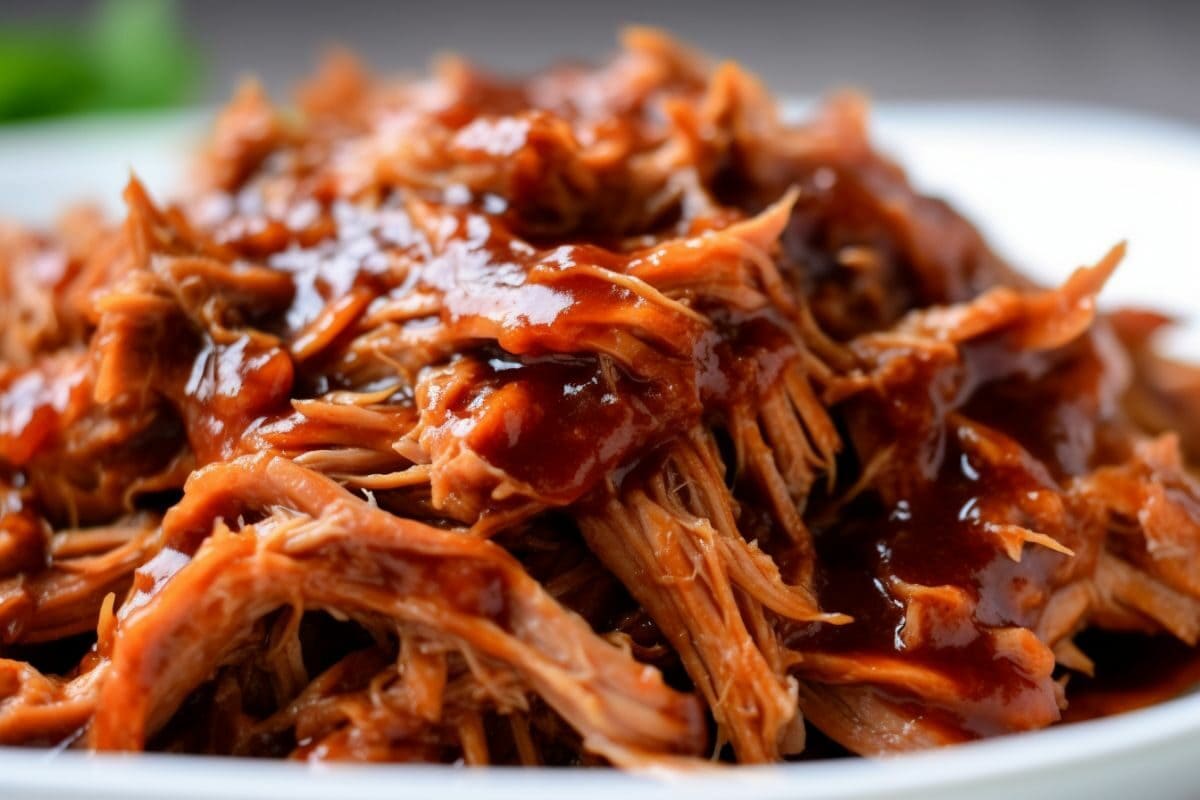
This is the most common method. You simply use two forks to tear the meat apart. Once the pork has had a chance to rest, place the Boston butt in a large pan. Then, place the forks back to back with the tines facing apart from each other. Dig them into the meat and pull in opposite directions. Continue until all the meat is shredded.
These handy specialty tools resemble bear claws. The benefit of these is that they get the job done more efficiently. I use the Bear Paws brand, and they’re fantastic. They’re a good investment if you’re planning on making pulled pork or any kind of shredded meat on a regular basis.
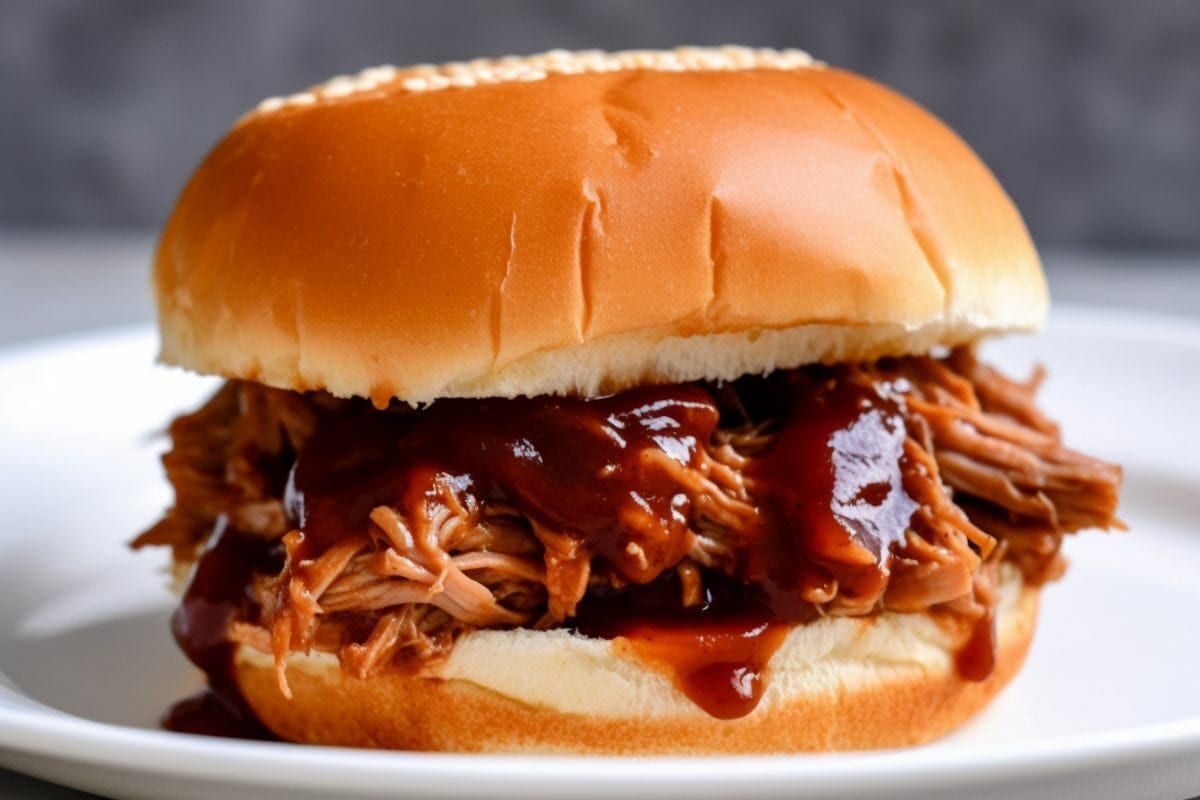
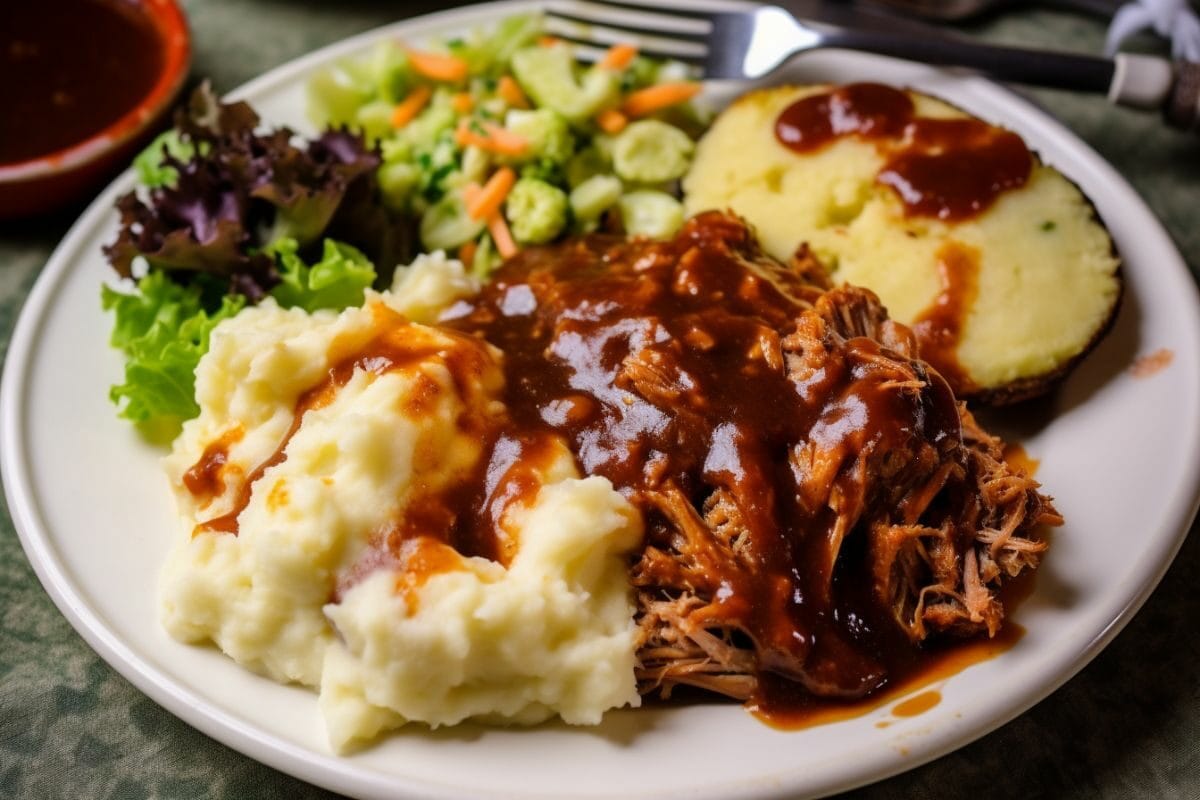
Note: Once you’ve shredded the pork, pull out any clumps of fat and discard them – you don’t want to serve them to your guests or family. Taste the pulled pork, and add additional seasoning, if necessary. Serve on buns with whatever toppings and sauce you like, and feast like royalty.
That’s what you need to know about cooking pulled pork to perfection. Yes, this method can seem daunting, but you should trust the process. Pulled pork is one of the tastiest and easiest dishes to prepare on your smoker. If you follow the guidelines here, you will master smoking pork shoulder in no time!