Smoking on a Masterbuilt propane smoker is a breeze. Add some wood chips or chunks to the chip tray, turn on the LP, set the grill to your desired temp, and get to cooking!
I had to learn how to use a Masterbuilt propane smoker a few years ago. As propane models aren’t my go-to options, there was a learning curve. The upshot was that it gave me the knowledge to show you how to master the process and prepare your own amazing BBQ.
I’ll give you an in-depth walkthrough of the entire smoking process in this article. You’ll master that Masterbuilt smoker if you read everything I’ve got for you. Let’s take a deep dive into Masterbuilt propane smokers!
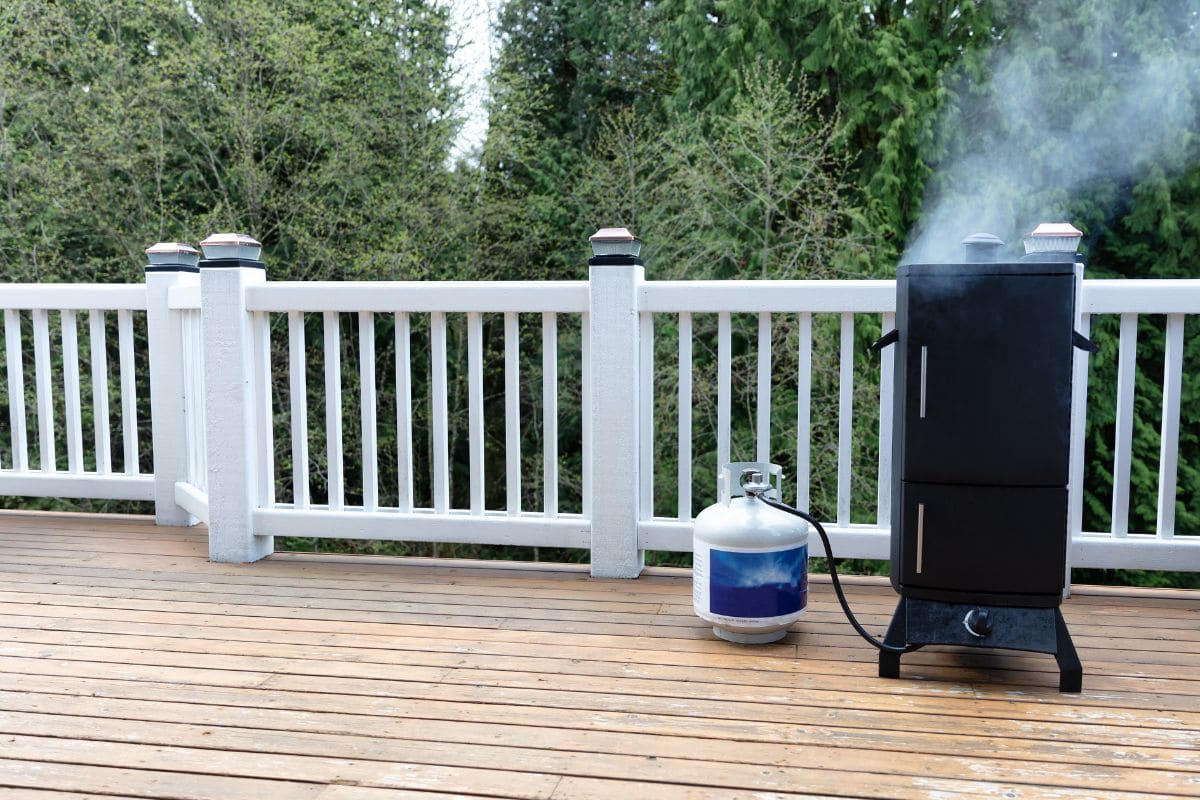
There are three main Masterbuilt propane smoker models to choose from – Two Door 30-inch, Adventure Series 30-inch ThermoTemp, and 40-inch ThermoTemp XL.
They are all vertical smokers, and they all function similarly. The main difference between them is cooker size, which doesn’t impact operation.
It is important to always read your user manual before getting started. This will contain all the information that you need to know about your specific model.
Here are detailed guidelines on how to get your vertical smoker started:
If you are using wood chips, then you should add them to the tray before firing up the Masterbuilt propane smoker. The same goes for wood chunks; add these in before the machine is turned on.
Look for a small door that is right above the burner. You will find a tray there that is known as a flame disk bowl. The “flame disk bowl” is a cool bit of marketing language for what is essentially a wood chip tray. This is where the wood chips go.
Other pit bosses have reported their chips have a tendency to catch fire on this tray, burning wood chips. This hasn’t happened to me. But if you find this happening with your Masterbuilt propane smoker, put the chips in a cast iron pan. You can also use a smoker tube to protect the chips or wrap the chips in aluminum foil. You may be running your grill too hot if the chips are incinerating.
What I like about using a cast iron pan is that it makes it easier to keep filling up the wood chips or chunks throughout the cooking process This will need to be done about every hour or so. Having a pan with a handle makes the top-up a breeze. Just wear a pot holder before touching the handle – cast iron gets hot!
Add a cup of wood chips when you refill the flame disk bowl. You can also use wood chunks if you want, as these tend to burn longer. Chunks are superior for longer cooks because they smoke for longer. When I’m smoking, I’m smoking with chunks. I don’t pre-soak my chips or chunks in water. I don’t think it does anything positive, and I think it slows smoke development.
The type of wood you go with is up to you. Hickory and oak are bedrock smoking woods. Fruit like cherry and apple, are other popular options. Much ink has been spilled in the ‘que community over wood species. To me, the differences are not dramatic. Play around and find your favorite.
The owner’s manual says wood pellets should not be used.
The water pan is located right above the wood chip tray. You can choose to add water, beer, stock, or any other flavored liquid here. Some people will also add herbs to the mix. I use water in my tray when smoking. I don’t think the flavor of beer or other liquids impacts the flavor of the food. To me, you’re wasting beer, which is practically a criminal offense around these parts.
The main function of the water tray is to help keep the temperature inside the cooking chamber even and low. The humidity created by the liquid in the water pan is also a great way to add moisture to the cooking environment. This moisture makes its way into the meat.
But it isn’t a necessity to fill up the water tray. You can remove it or keep it in the Masterbuilt propane smoker without adding any liquid.
Check that the valve on the propane tank is closed. Then, connect the regulator hose on the Masterbuilt propane smoker to the tank. Hand tighten.
The control knob should be in the OFF position. Open the doors and the valves of the Masterbuilt propane smoker. Then, open the valve on the propane tank.
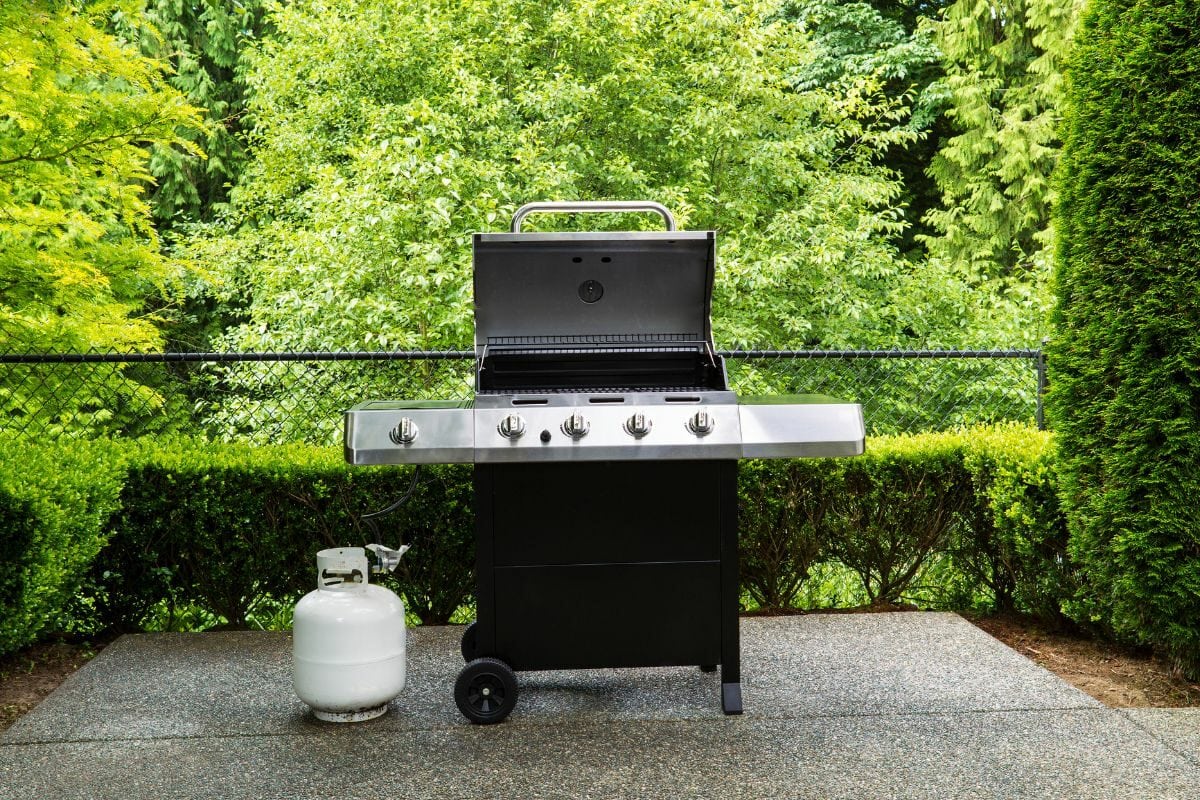
I still open the valve all the way, even though the smoker has a built-in mechanism to monitor and adjust the flow of the gas. I’m old-school.
Use one hand to push the temperature control knob down, and then turn it counter-clockwise to your desired temp. Don’t let go of this control knob just yet – you need to hold it down for the smoker to ignite.
Keep pushing down the temperature control knob, then press the ignitor button. Do this until you hear the burner has ignited, and then let go of the ignitor button. Keep holding the temperature control knob for 5 seconds. This activates the flame sensor.
When the 5 seconds are up, use the control knob to set the smoker to your desired temperature. Visually confirm that your smoker has started. If it hasn’t, start this step from the beginning.
Close the doors and allow the Masterbuilt propane smoker to preheat.
If you need to turn the fire off at any time, turn the control knob clockwise.
Place the food in the very middle of the rack. Leave space between each food item. This allows for better airflow, cooking the food more evenly. Centering the food has the bonus side effect of using your water pan as a drip tray.
The hottest part of this smoker is usually at the very top. Put large cuts of meat or ones that need to be cooked for a longer period of time, on the top rack.
If you want to smoke large quantities of food, it is best to do so in batches. Follow the Cub Scout motto: be prepared. You’ll need to start smoking earlier.
Place aluminum foil pans below each of the racks containing meat if the meat isn’t over the water pan. This way, the pans catch any grease and meat drippings. This allows for easy clean-up later on.
Masterbuilt recommends against covering the grates with foil. It stifles air and heat movement. Uneven air and heat movement mean uneven cooking.
Depending on the cuts of meat you are dealing with, you may need to adjust the cooking grate supports. This will allow you to increase or decrease cooking space as needed.
If you are cooking on cold or windy days, then there is a higher risk of the flame blowing out. Open the door and check if you have suspected that this has taken place.
If it has, keep the door open while you reignite the cooker. Close the door and then continue to smoke.
When you are smoking meat, you need to pay attention to the internal temperature of the smoked food. Accurately tracking cooker and meat temperatures is one of the things that separates okay BBQ from life-altering BBQ. Tracking the cooker temperature will allow you to cook the meat at proper temperatures. Tracking internal temperature tells you when the meat is done.
Here’s the problem: the temperature controls on the various Masterbuilt propane smoker models aren’t super accurate. Inaccurate thermometers will skew your cooking time.
I would recommend a thermometer for each rack that the meat is on. You’ll have a firm grasp of the temperature at every level of your cooker.
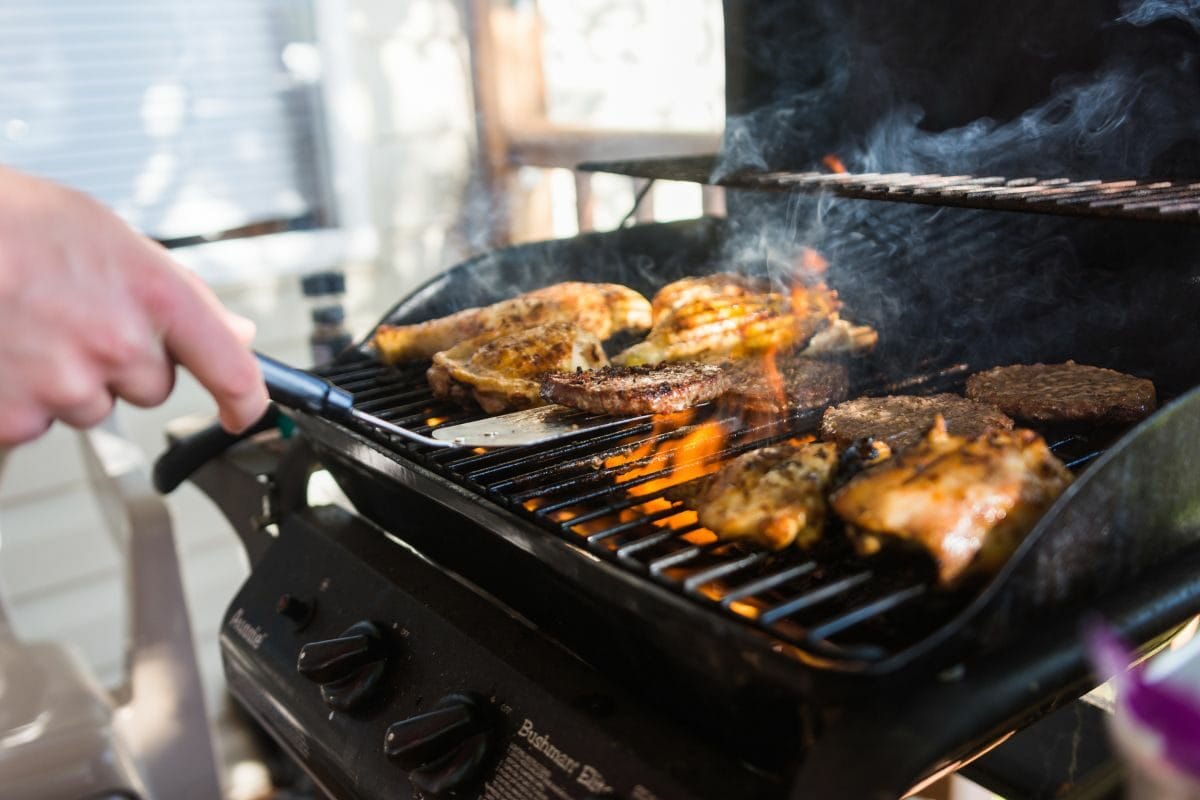
This cuts down on the risk of overcooking your meat or taking it out before it is ready. It will also mean your cooking time estimates will be more accurate. Your friends who are coming over for dinner at 6 will be expecting dinner shortly after. A good thermometer or four is a good investment.
I also suggest buying a better door or hood thermometer as well. Yes, every Masterbuilt propane smoker has one attached to the door, but mine reads 50°F higher than my Thermoworks thermometer. I trust the expensive Thermoworks, not the door thermometer. Calling it a “thermometer” is generous – it may as well be a random number generator.
Once the meat is fully cooked, take the smoked food out of the Masterbuilt propane smoker. Make sure to use silicone or other protective gloves. Don’t burn yourself.
Shutting this propane smoker off is easy. Simply turn the control knob to the OFF position. Next, close the valve on the propane tank. Disconnect the tank and store it as needed.
The cooking process can take quite a bit out of you, but you should clean your propane smoker every time that you use it. Part of cooking is cleaning up afterward. Maintain your Masterbuilt propane smoker properly, and it will last longer.
Cleaning your propane smoker after every cook means that it is ready to go the next time around. You don’t have to spend time cleaning out the smoker – you can simply get to smoking.
I use a grill brush to clean my cooking grates. I do it when the grates are still hot after I’m done eating. Hot grates are easier to scrape clean. Wear heat-resistant gloves to be safe.
Always wait for your Masterbuilt propane smoker to cool down before cleaning the interior.
Once the propane smoker has cooled down, remove the wood chips tray and discard any ash or wood chips there. They need to be completely cooled or you risk starting a fire. When in doubt, douse them with water. Wipe the chip tray so that grime and gunk don’t build up here.
Next up is the drip tray. Remember, there is probably fat and grease here, so use warm water to get rid of any residue. You can use soap if you need to.
I use aluminum foil before I cook to cover the drip tray. Then I simply toss the aluminum foil when I’m done cooking. Nice and easy!
Wipe down the internal components of your propane smoker. Allow them to dry completely before returning them to their proper places. I do this every couple of months.
Now it’s time to close the doors and the vents and then place the grill cover over the smoker. You’re done!
Haven’t used a propane smoker before? Then, here are some pointers on how to use a Masterbuilt propane smoker for the first time:
Leaking gas can be deadly. Propane gas is highly volatile, and while the propane tank may be secure, you need to check that the same is true for the connection as well. If you smell, hear, or see gas, turn off the LP and call the fire department.
Masterbuilt recommends performing the “soapy water test” every time you use your smoker. This is outlined in the manufacturer’s instructions. It is meant to prevent gas leaks.
For this test, you will need to:
Prepare the soapy solution by combining one part dishwashing liquid with three parts water.
Apply this solution to the propane tank valve, the hose regulator, and the full length of the hose. You’ll also need to apply the soapy solution to the area where the burner and hose are connected. This is located underneath the control panel.
Turn the tank valve ON and watch for bubbles. Don’t leave the tank on for more than 12 seconds at a time. If no bubbles appear, then this means that no leak is detected at this point. Look for bubbles everywhere that you’ve put soap.
If there are bubbles, you will need to turn the valve OFF, retighten the fitting, and repeat the test once more.
Once the valve is secured, turn it on again. Avoid doing so for more than 12 seconds at a time. Look for bubbles appearing either along the hose or at the other end of the connection.
If the bubbles appear at any point along the hose, then stop the test immediately. It means that the hose is leaking and can’t be used.
You will need to replace the hose before you can use your Masterbuilt propane smoker.
If there were no leaks, then shut off the valve. Wait for 5 minutes for the fumes to dissipate, and then start up the smoker.
Again, Masterbuilt recommends running this test every time you use the smoker. This will ensure that everything is fitted properly and that the hose is still in good working order.
Related Reading
Before you can use your Masterbuilt propane smoker, you should season it first. This allows the smoker to purge any tastes or odors that may be left over from the manufacturing line. It also builds up a non-stick surface on the racks.
It’s best to season your smoker before you use it for the first time.
Perform the soapy water test on the smoker to ensure the propane is connected properly.
Apply a thin layer of vegetable oil to each cooking grate and the inside of the door.
I use a paper towel to spread the oil, but a basting brush or clean, dry rag would work, too.
Replace all of the internal cooking components of the smoker. Replace the water tray as well but don’t fill it up.
You can add a cup of wood chips to the chip tray before firing up the smoker. This is optional.
Close the doors and the vents. You can reopen the vents later, but for now, you need to get the temperature of the smoker up quickly.
Turn on the smoker, setting the cooking temperature to 350°F.
Let the smoker maintain the desired temperature for 1 hour.
Keep an eye on the wood chips. If they burn through, add wood chips at intervals, if desired. A cup every hour should do the trick.
Once the two hours are up, turn off the smoker and let it cool completely.
Time to coat the inside of the smoker with vegetable oil again. Hit the racks and the inside of the door.
Replenish the wood chips and turn the smoker on once more, with the temperature set at 350°F.
Let the smoker run for 30 minutes before shutting it off.
Congratulations. You’ve seasoned your smoker. You can now use the smoker to cook food.
You only need to season your smoker once. How often it requires a deep cleaning is another story – it will depend on your cleaning practices. A clean grill is a happy grill. Try to clean it after every use.
If you find that grime and dirt are building up inside the cooker, then you will need to do a deep clean. To clean any grill, get it as hot as you can and let the grill go as long as necessary. You are cleaning with heat, much like the self-cleaning function of an oven. If heat doesn’t do it, there are an array of grill cleaners and degreasers on the market. Buy one specifically for outdoor cooking.
There you have it – a total guide on how to work a Masterbuilt smoker all by yourself! My hope is that with this guide, you will figure out how to get past any issues you have. Connect the gas, add some wood chips, fire up the grill, and set the temp. Throw some meat on the racks, and you’re officially barbequing. Welcome to the obsession.
Remember to season your grill before using it. If you suspect you’ve got a gas leak, turn off the gas and call the Fire Department. Good luck!