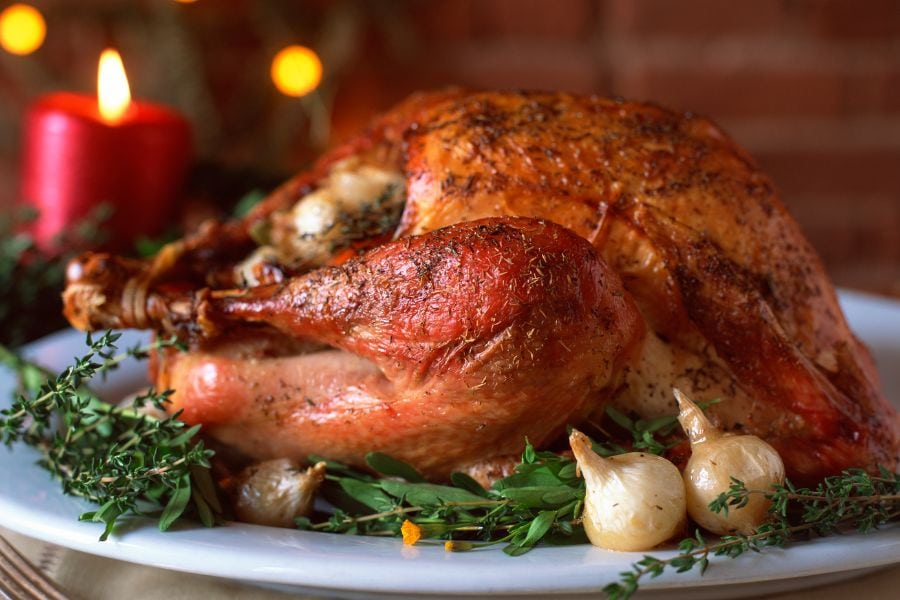
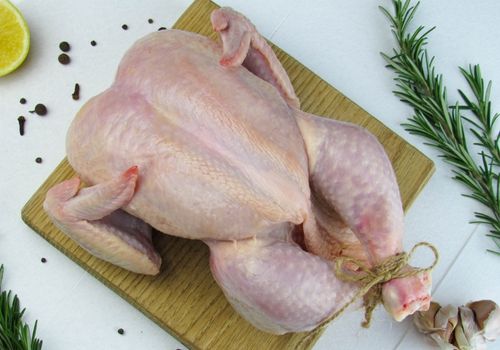
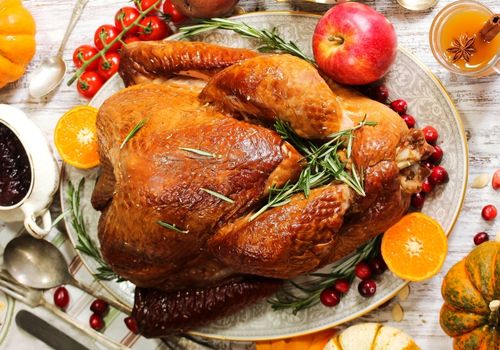
Tucking turkey wings is easy. All you need to do is to set the bird with its breast side facing up on a work surface. Then lift the turkey a little with one hand. With the other hand, tuck the wing underneath the shoulder of the bird into the akimbo position. Now, repeat the process for the other wing. And that’s how to tuck turkey wings.
I know your turkey recipes aren’t always as tasty as what you’re served at your favorite restaurant, right? Sure, it’s because you didn’t tuck it. I could tell there is a difference between what I used to make as a rookie cook and when I became a pro after cooking school. So, here is all you need to know about how to tuck turkey wings in this guide.

It always looks simple when you see chefs tucking wings on TV. But you may be surprised at how tricky it can get once you get your hand on the process. Not to worry, I will make your learning how to tuck turkey wings easy.
Next, I’ll break this process into 5 basic steps so you can follow along easily. This includes getting your turkey ready, tucking the wings, tying the turkey wings, and roasting it.
To follow this procedure, you need a whole turkey of course, and some kitchen utensils, which include:
If I’m using a carving board. I love to place a piece of damp clothes or paper towels on my kitchen top before placing the board. This prevents any juice that escapes the board from staining my table.
You can do this by emptying the inside and stuffing the cavity.
Before handling raw meats, it’s always good practice to put on a kitchen glove so you don’t contaminate the meat. So, once you have this on, clean off the giblets from the chest cavity and stuff in any flavor of your choice.
Next, place the stuffed turkey on a roasting rack or a clean carving board. We can now begin tucking the wings.
Tucking the wings involves grabbing the protruding wings and putting them under the breast meat.
So, grab the first protruding wing tips, and in a forward motion towards the neck cavity, tuck the tip under the turkey breast. Now, do the same for the other side.
As the general body weight of the turkey is greater than the tucked turkey wings, it will hold them in place, preventing them from popping out.
To truss or tie a turkey, wrap twine or kitchen string around its body.
An extra step, huh?
But it’s popularly believed that a trussed turkey prevents the breast side from drying out before you have properly cooked legs and thighs. This gives the turkey a better look and allows it to cook evenly.
I like trussing my turkey because it looks good on the platter.
To do this, I first need to estimate the length of the twine that you need to wrap the whole body. Don’t worry if you don’t get this step correctly as you can always adjust the twine. However, the bigger the turkey, the longer the twine that will be required.
Next, I cut the kitchen twine with a knife. Starting from the breast side of the meat, I begin to wrap the whole turkey with it. Before getting to the legs, I first pull the twine tight to secure the whole bird, then wrap the turkey legs with the remaining twine.
Once the legs are fully wrapped, I pull the twine together and tie a knot like I would my shoelace.
Note that this procedure can be applied to chicken wings too.

You can cook your turkey using whatever cooking method you’ve learned – baking, grilling, roasting, smoking, or braising.
Roasting is my preferred cooking method since it’s both simple to do and tastes crispier.
To properly roast a turkey, you can follow the steps outlined below.
Tip: If you are preparing a huge turkey, let’s say a turkey of 20 pounds, you may want to smoke it instead. Here, I have a detailed guide on how to properly smoke a large turkey.
Related Reading
Tucking your turkey wings allows you to have an even roasting and keep the wings from burning.
You should always dress your dish properly during preparation. According to this report from Le Cordon Bleu, studies have shown that foods taste better when dressed properly and they look good.
This is why you should learn the art of food presentation if you want your food to taste as good as what’s served at a restaurant. The best-tasting bird is cooked evenly. You can’t do this without learning the art of tucking.
One of the foods I enjoy dressing is a full turkey. Sure, turkey comes packed with a rich flavor. However, I always enjoy my homemade turkey if I dress it properly by tucking the bird wings in rather than leaving it untucked.
I know you’re here because you’re interested in how to tuck turkey wings. So, without mincing more words, I will walk you through the process to do so effectively.

Tucking turkey is something you need to do when preparing your turkey. It helps to give it a better look and taste. So, if you want that restaurant-quality turkey, it’s always a good idea to know how to tuck turkey wings. While this may appear simple on TV, getting your hands dirty on the task may be a challenge. With all the nitty-gritty of how to tuck turkey wings explained in this guide, this should become intuitive.